Importing eWallet GO! data into eWallet on Windows
Looking to switch from eWallet GO! to full eWallet® on your Windows but need to import your data? You’ve found the right article!
Please note that this feature requires eWallet 8.3 or higher for Windows.
Summary
There are a couple of options on the PC to convert your GO data to full eWallet: import the local wallet file or import the file from Dropbox. Both methods are covered below.
Local Wallet File
If you’ve been using “GO” on your PC, and your local GO wallet is up-to-date, then this might be the best option for you.
- Start eWallet, select File→Import…, then click Next
- Make sure the button next to “eWallet GO!” is selected and click Next
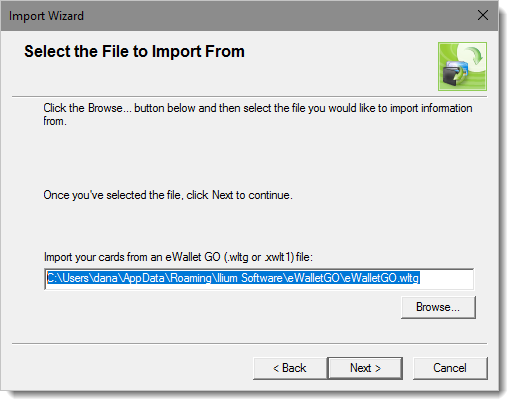
- At this point the Importer should have found your file (
.wltg) and you’ll see it highlighted in the text box (see image below), so click Next - Continue using the wizard, and when prompted, save the new wallet wherever you like, typically in your My Documents folder — you can use whatever name you like for the new wallet
Dropbox Backup File
If you have not been using “GO” on your PC, or your Dropbox backup file is more up-to-date, then this likely the best option for you.
- Start eWallet, select File→Import…, then click Next
- Make sure the button next to “eWallet GO!” is selected and click Next
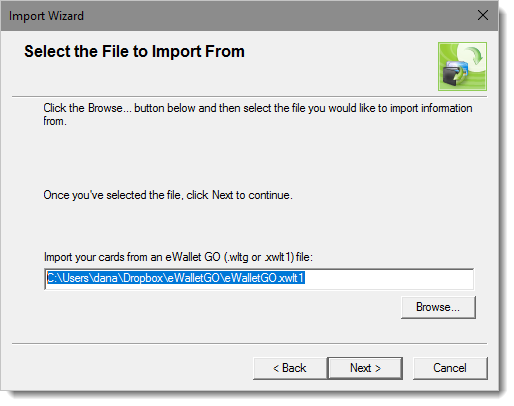
- If you have the Dropbox client installed, then browse to your backup data file,
eWalletGO.xwlt1as shown in the image below — this file will be in the eWalletGO folder under the Dropbox folder - Continue using the wizard, and when prompted, save the new wallet wherever you like, typically in your My Documents folder — you can use whatever name you like for the new wallet
You should now be all set to use eWallet on your Windows PC now! Next, it’s time to do the one-time setup of cloud sync.
- Windows